Start
Wolfgun and I were having a look at his current Eurorack synth case, which had a large error in it's design from the original maker. When the mechanism was used to prop up the modules at an angle, the modules at the bottom would not clear the edge of the case, causing some of their ports to be tucked inside and not very usable. So I set out to build a new, sturdy case with an enclosure without any moving parts for the tilting angle of the synth.
For those unfamiliar with Eurorack synths, it is a format of synthesizer that is comprised of multiple modules that the user puts together to create a synth (or effects unit) of their own. You might see a lot of synthesizers with a music keyboards attached, and lots of knobs and sliders, perhaps a screen. But a modular synth is built from the ground up using, let's say, an oscillator here, an envelope there, a sprinkling of LFO's. You make the system yours! The modules use Control Voltage (CV) to send information to each other via thin patch cables, as opposed to preprogrammed pathways you would find on a traditional synthesizer.
So, I grabbed some birch plywood, hardware to support the top enclosure, got together my measuring and cutting tools, and went off! This ended up being a collaborative effort, with Wolfgun taking on the serious sanding duties before and after staining.
The result and process, some photos, and thinking around it's design are below. Enjoy!
Result
I really didn't go in with much of a plan. I ruminated on these ideas of having a 'leg' that makes the angle of the synth adjustable, implementing a ribbon to keep it from going further up, some kind of gear mechanism to change the angle, storage in the back for cables, but all of these in the end felt like unnecessary complications to a design that should be a functional housing for this synth.
I did not want to remove features for the sake of removal either, or making it as minimal as possible. A deprived, beige blob of a box did not feel honest to it's purpose, and in matters of simplicity, elimination is just as meaningless as elaboration. The handle, the covers locking mechanism, and it's form would be made of itself; architecting expressions of the whole just where, and just how.
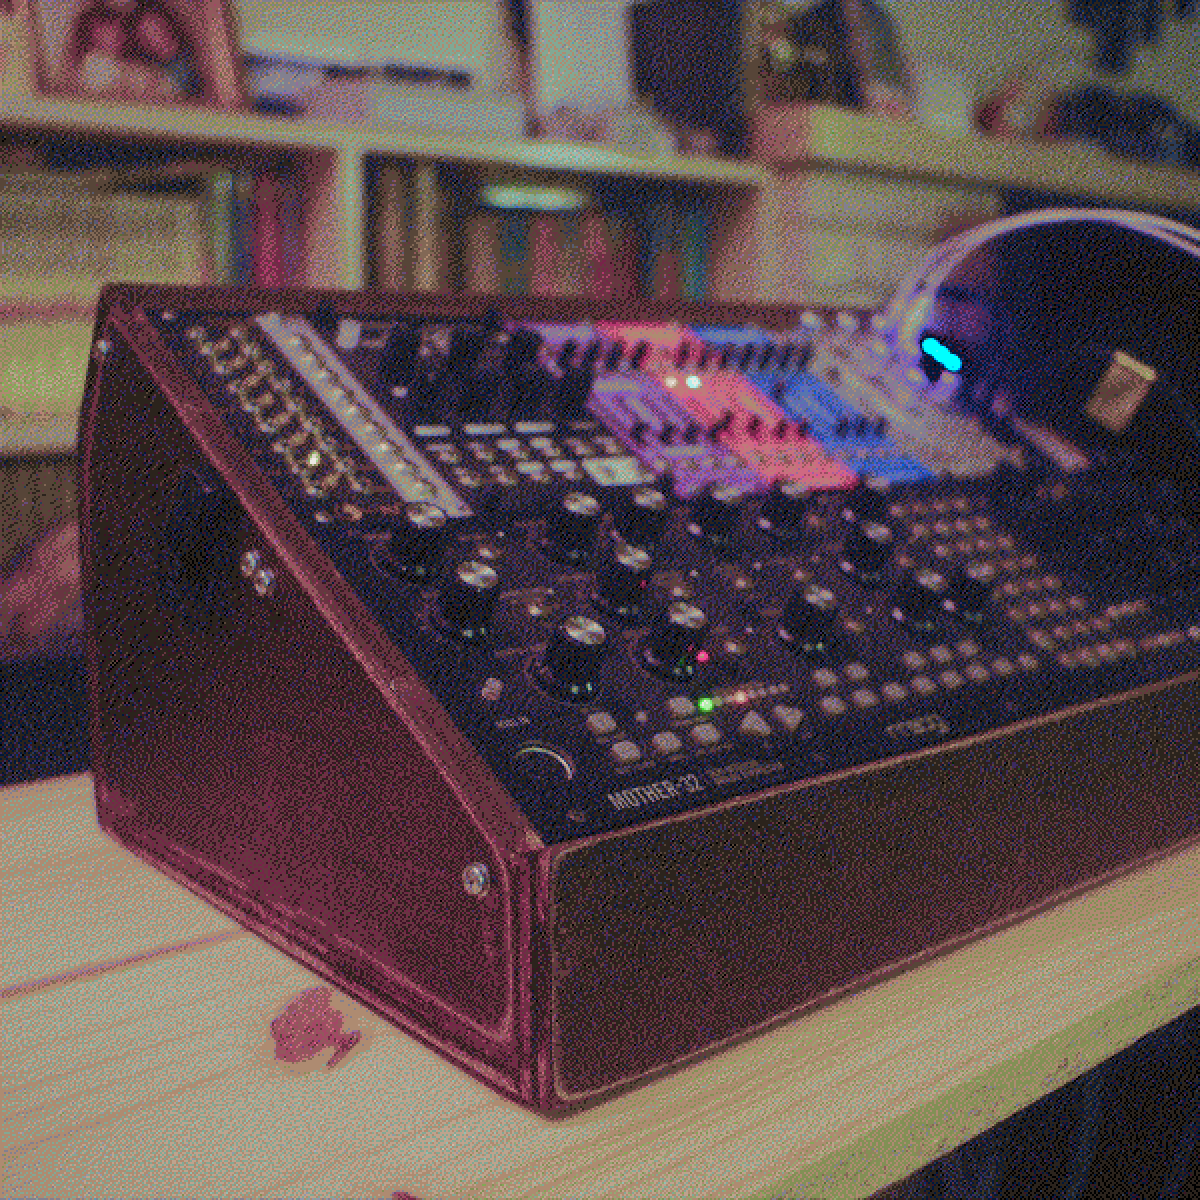
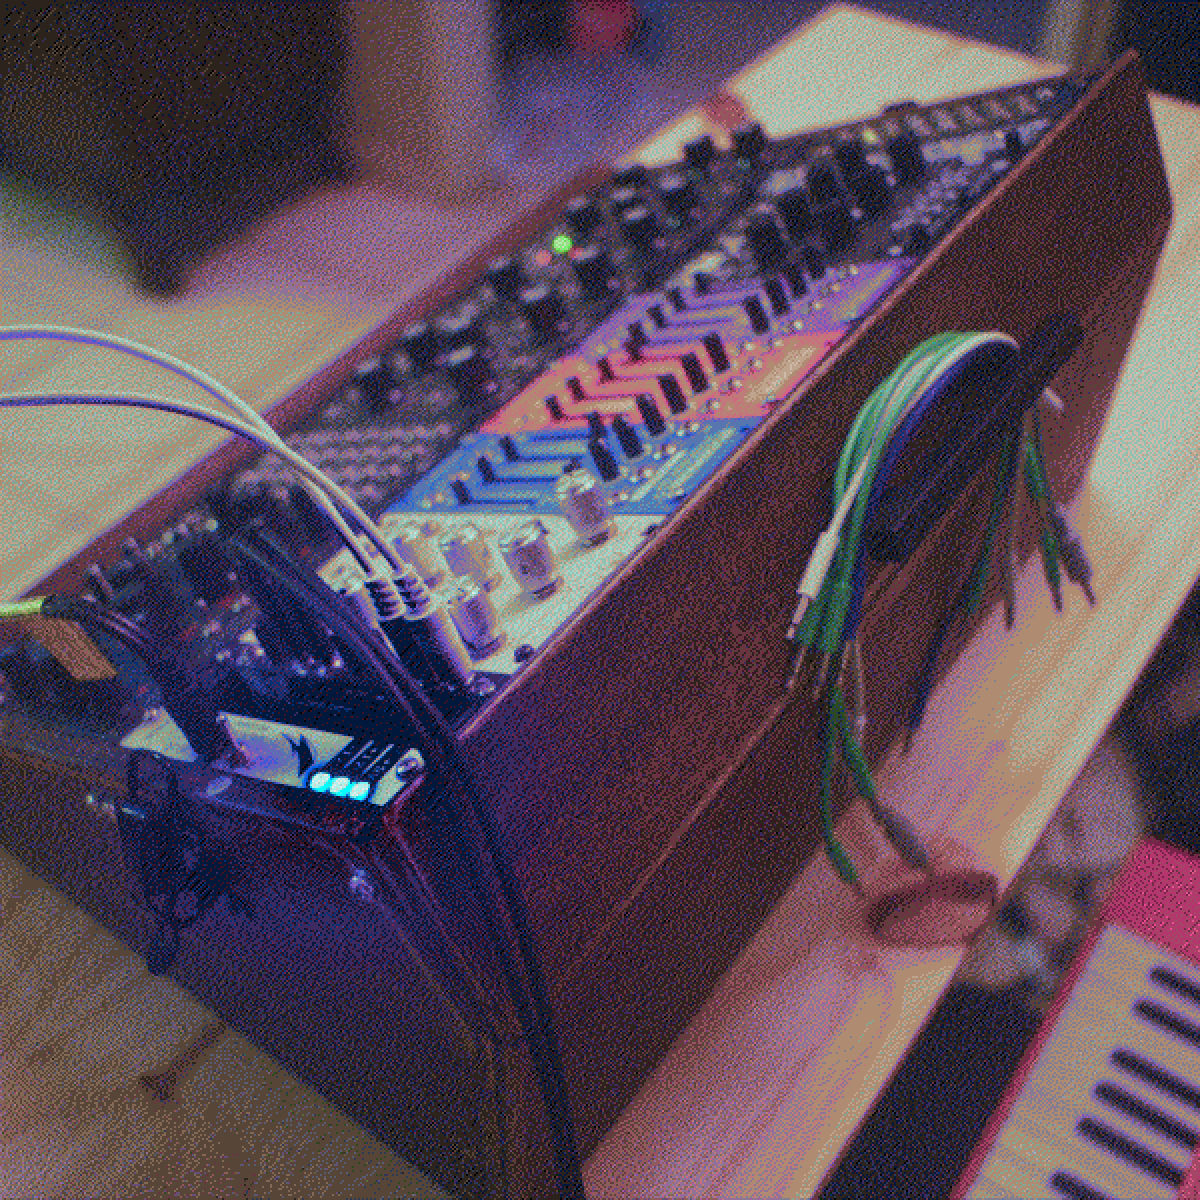
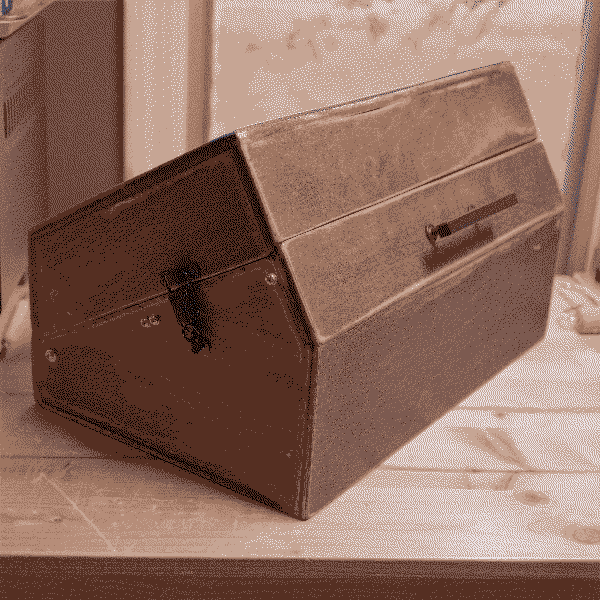
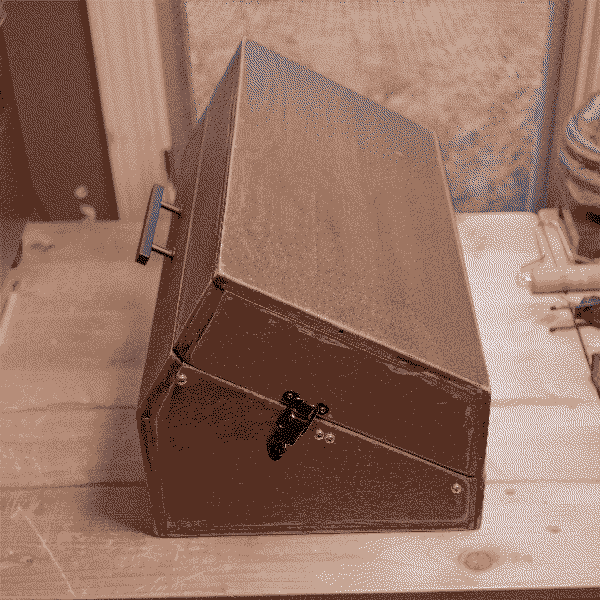
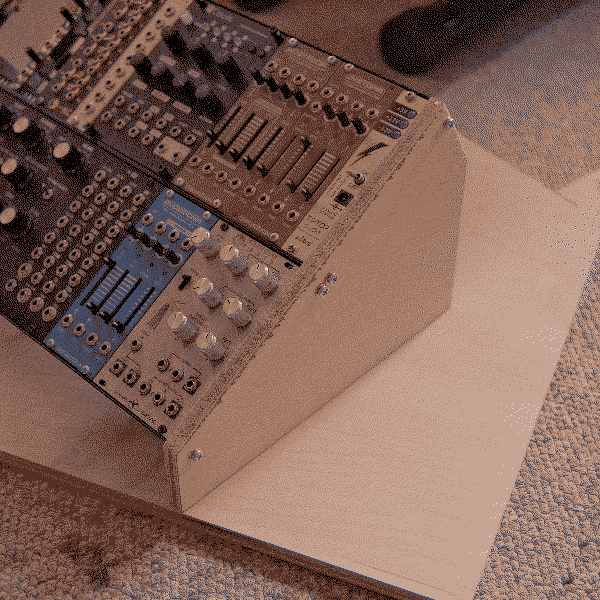
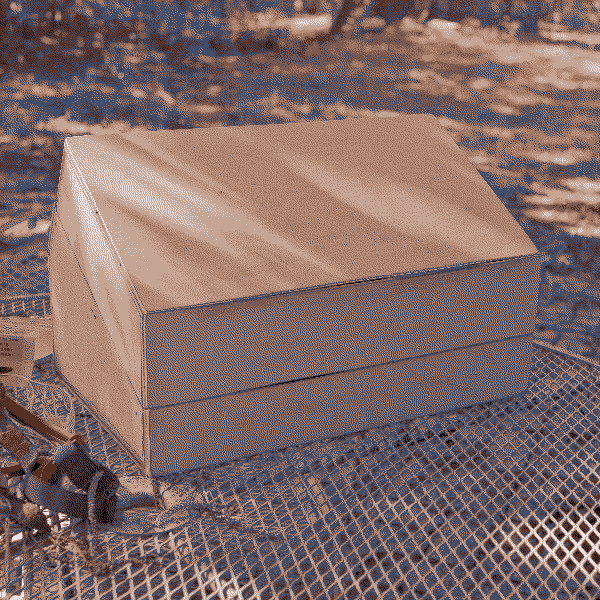
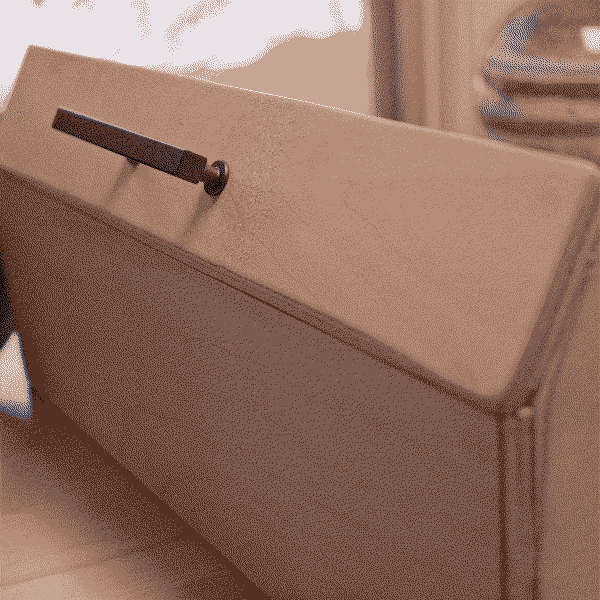
Here it is then. A red mahogany stained case with magnetic insets to keep the cover aligned, 30 degree angles for stability of the cover, a handle, and locking mechanism to keep everything contained for travel.
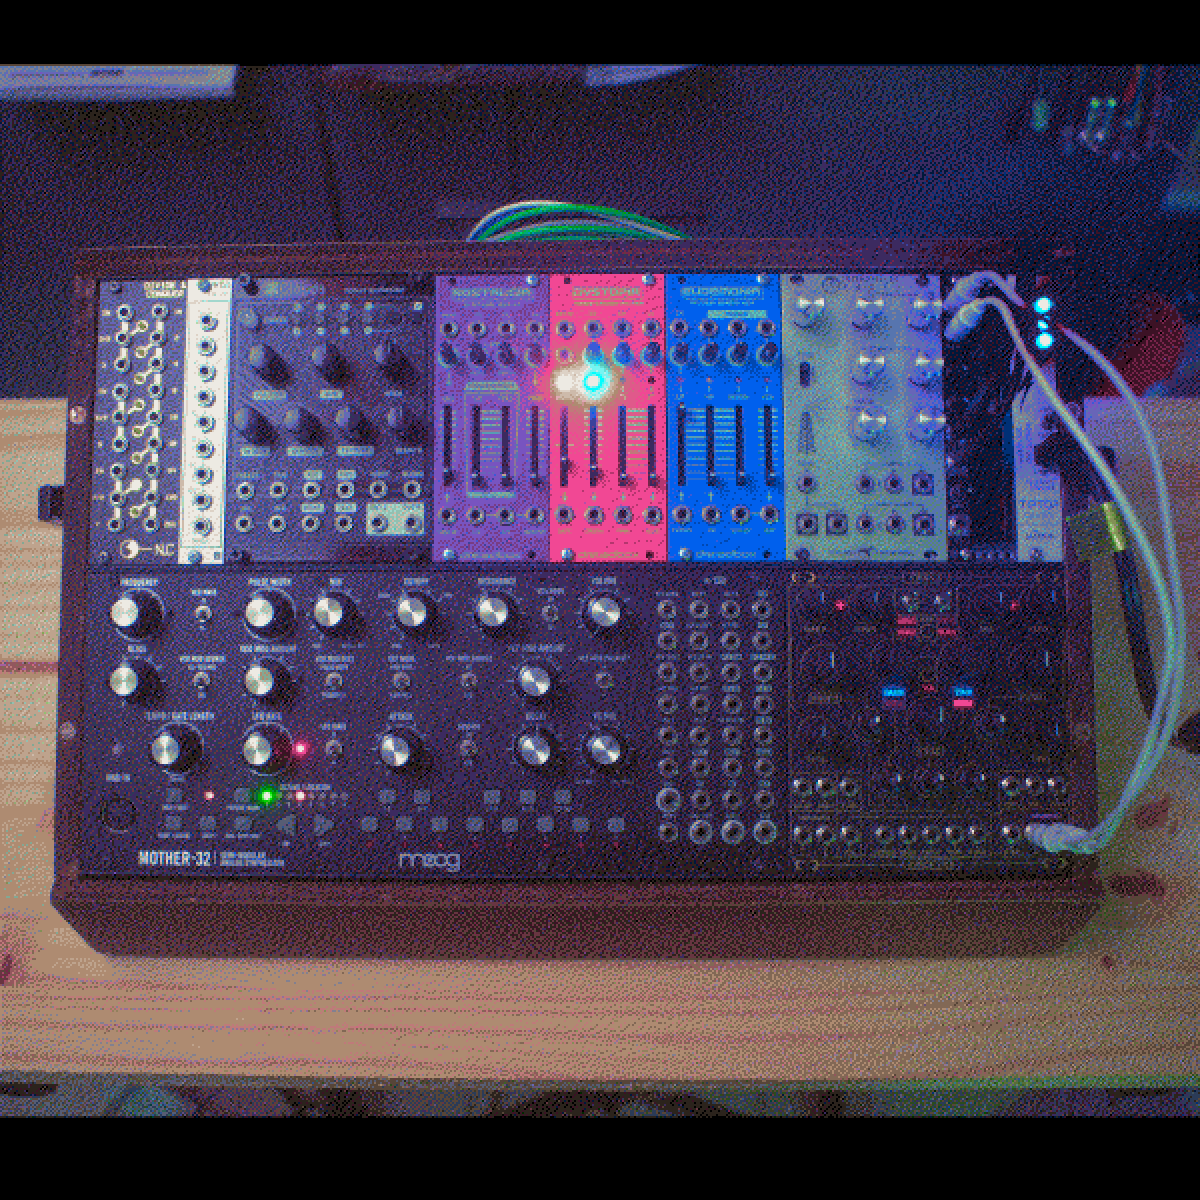
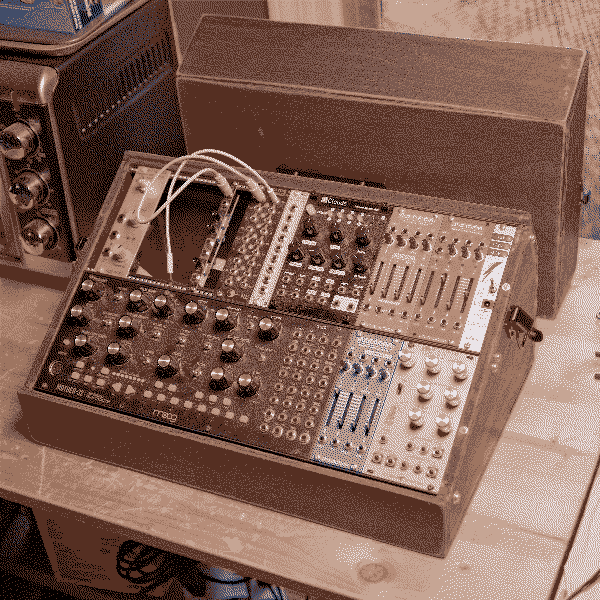
I thought I'd also give a list, for the record, of the current modules that make this synthesizer, which WG has named "Vega".
- - Nonlinearcircuits Divide & Conquer
- - Wavefonix R2R DAC
- - Mutable Instruments CLouds (Parasite Firmware)
- - Dreadbox Nostalgia
- - Dreadbox Dystopia
- - Dreadbox Eudemonia
- - Schlappi Engineering Interstellar Radio
- - Synthrotek Head Out
- - TipTop Audio ZEUS
- - Moog Mother-32
- - FORGE TME VHIKK X
Process
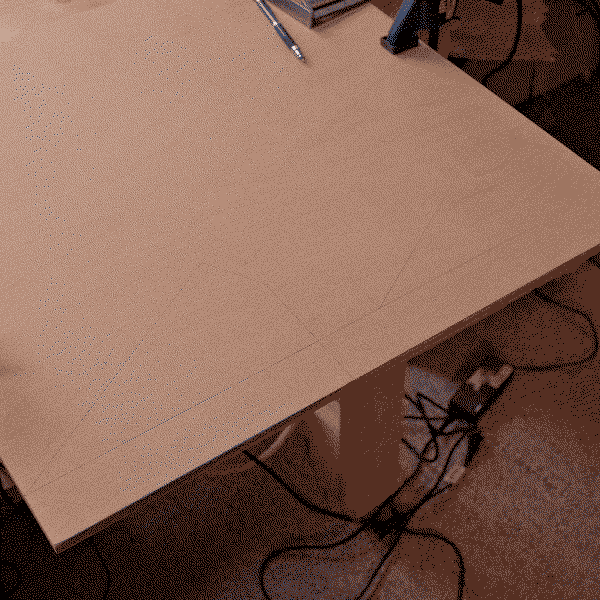
Like mentioned, I started with some birch plywood slabs. The operating angle of the synth would be at 30 degrees. There's about 2" of space below the unit, as well as from the top to accomodate modules of varying depths. The side panels were built first to be sure the aluminum rails that the modules are screwed to would be properly spaced. All other angles including the spacing of the enclosure were meant to accomodate any cables that would stay patched while the unit is completely enclosed.
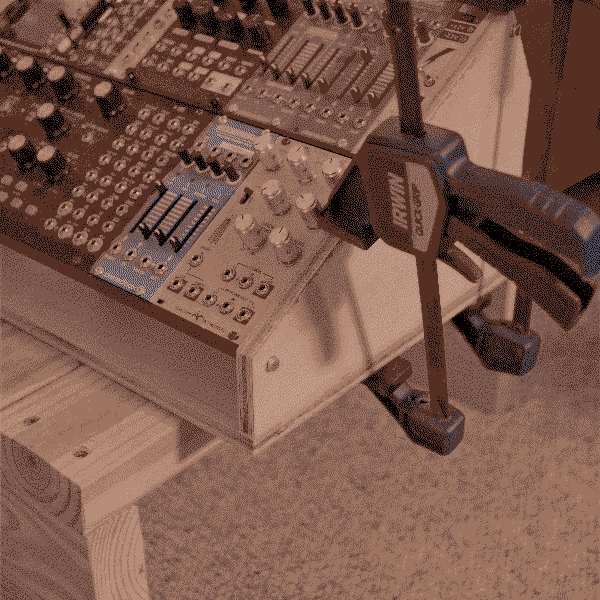
You also might see that my gluing application was overdone... I made sure there was enough glue so each face was well covered, but the angle that I clamped bits together were not perfect. I often had one end of the clamp grip other parts at an angle. Despite the risky approach, there was enough friction to keep the bits from sliding. With the excess glue, there was plenty of constant 'toweling away' of spillover goo.
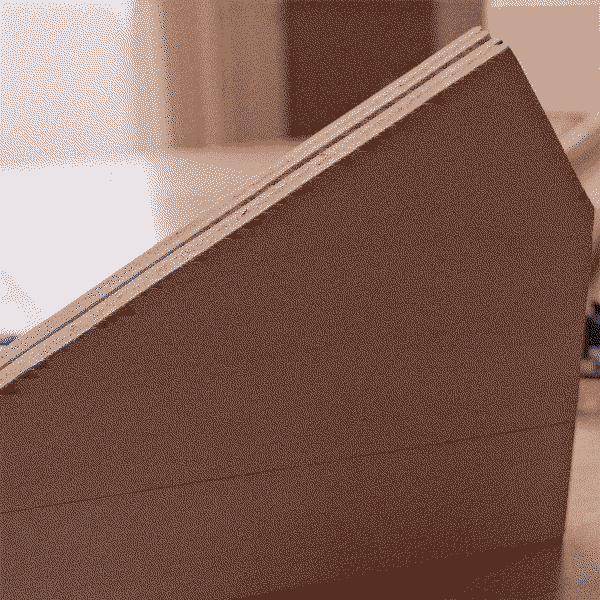
I used primarily a jigsaw, and a speedsquare for all of the angle setting and cutting. My limited woodworking skills led me to just freehand cutting with the jigsaw. This ended up making things tricky for cutting angles on the edge of the pieces which you'll see later.
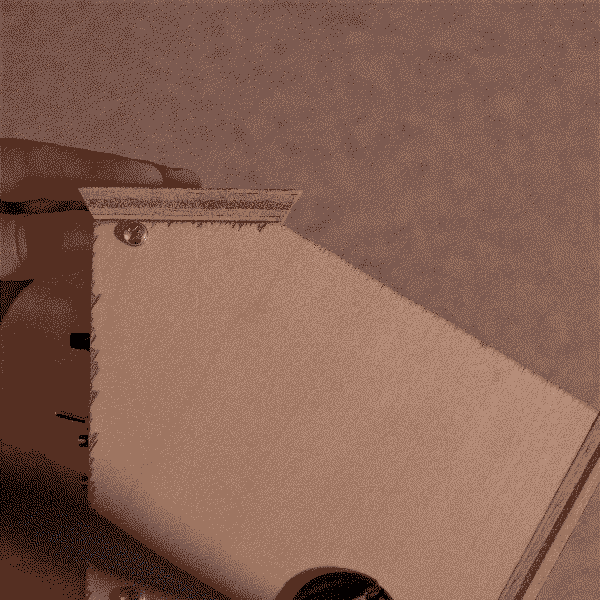
With most of the pieces cut out, and starting to develop it's structure, I had to create the top piece and a way to get it to not slide down at an angle once it was set onb top. This involved trimming edges at an angle so the top cover would 'nestle' into position, along with the help of some neodymium magnets set into the top edge of the side panels for positioning horizontally.
Freehand cutting the edge of plywood at an angle is tough. The blade can wobble, and if my wrist turns slightly, the edge will either get a slight bulge or depression, making it difficulty for the connecting top piece to sit flush with the bottom. But, that's what I did. With WG's sanding work, I think I got it pretty well sat on there.
With the geometry calculations, top cover completed, and some sanding work done, I moved on to fitting the hardware to the case. I picked up this nice rectangular handle that's usually used for cabinetry or drawers and fixed it to the back where it can be comfortably carried. With the angling of the top cover in place, the position of the handle and hardware were all considered so that the cover would never slide off during transport.
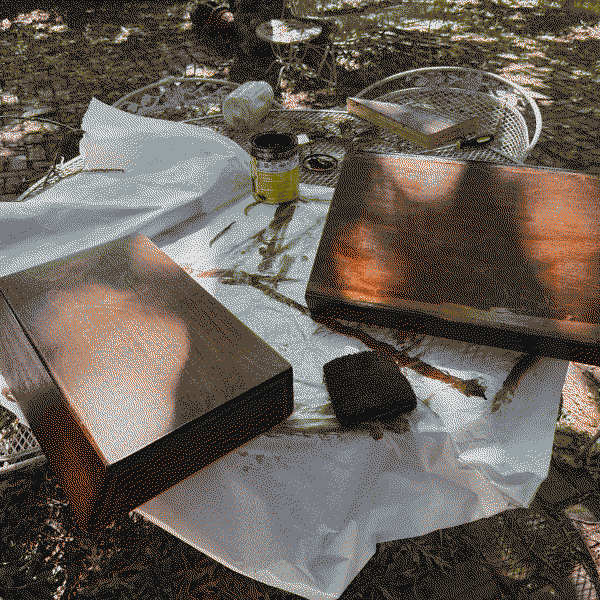
For staining, some of the glue that was wiped onto the side naturally did not allow some stain to adhere to it. The sanding process went along way to expose as much of the wood as possible though, and even resulted in some funny artifacts of the birch plywood surface, such as these kind of faded, streaked edges. The mess of the glue and unpredictability of the plywood contributed to it's roughish look. Importantly though, everything was pretty snug in place thanks to the careful measurements. It will be a good home for this synth.
So, that's about the end of it. It feels nice and sturdy due to the natural strength of the plywood. The angle chosen makes it usable without the fuss of mechanically engineering bits to get things sitting properly. I learned a lot from this woodworking. I'll certainly be using clamped wooden guides the next time I go jigsawing a thing together on a whim like this, hehe.
Thank you for reading my process for this project!