Start
For a long while now I've wanted to create my own clothing. The desire to express myself through clothing, have comfortable, tailored things to wear, and just enjoy hand-crafting the thing I use on me every day has always been appealing. I decided to take on a hand-sewing project recently and create a piece that I'd get plenty of wear out of, so something like a jacket, hoodie, noragi, cardigan thing.
The main reason for hand-sewing specifically, instead of machine, mostly came out of what was available to me. I don't have a sewing machine on hand so I went into the project taking the slow route and being okay with that. Quickly though there were realizations about the worth of hand-sewing for myself as opposed to machine-making it. Some of these include the silence of the process, the precise control over the placement of my stitches, the portability of working wherever I need without moving much material, and working with my hands more closely with the fabric. I estimate that it took about 31 hours in total. But I'll bet I can cut time down by a lot with the lessons learned during it's creation.
Sewing machines are great for speed, keeping garments cheap, and democratizing access to clothing or other utility fabric use. However this project is not about producing clothing for a market or speed, but rather an individual creative and life desire of mine. This slow clothe-making process is enriching and resulted in a sturdy, lasting garment that I can repair and re-use for years.
Let's get into what this became first! I'll take you through the process later ~
Result
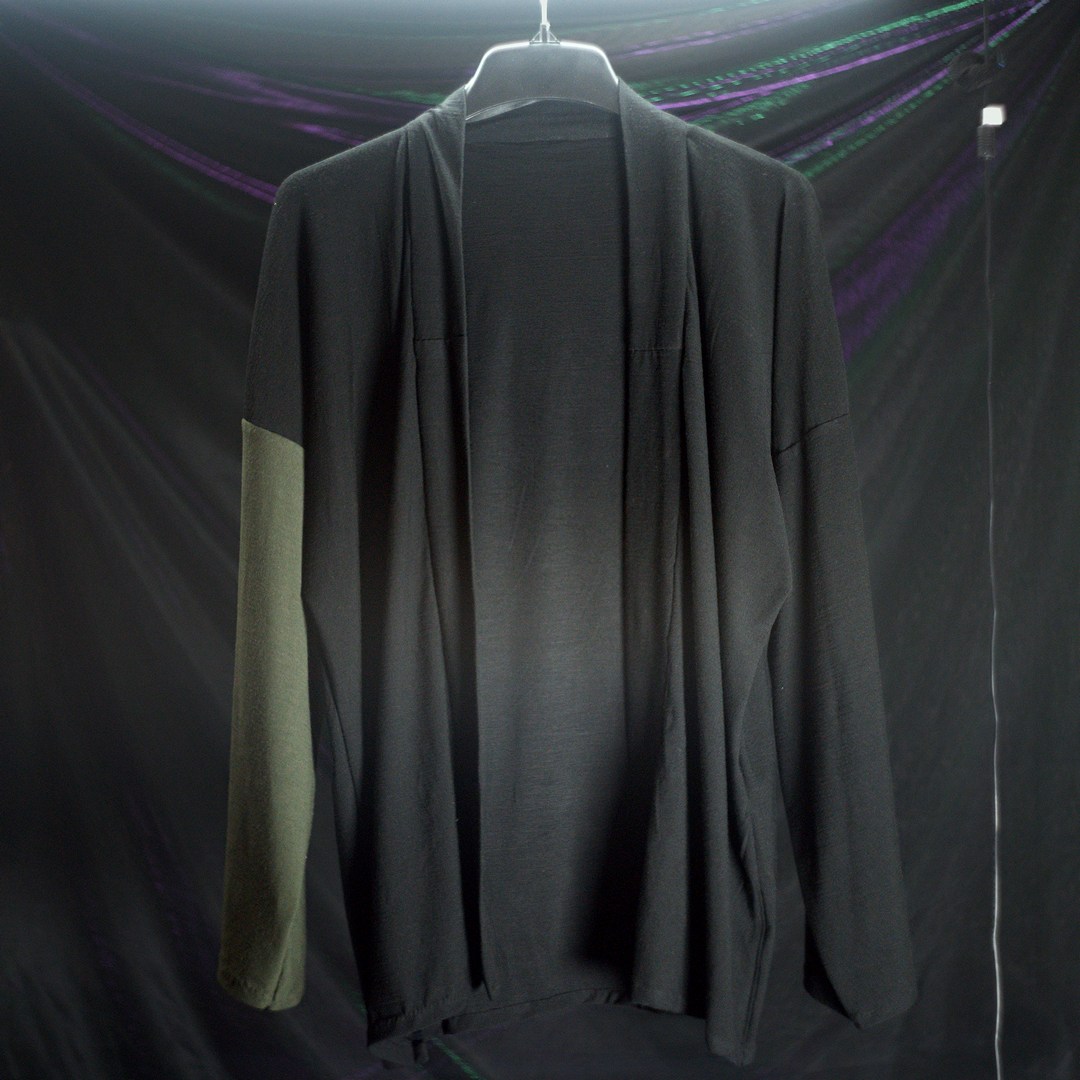
The result of this project is a comfort minded garment with a silent audio signature delivered via the merino wool fabric. It has features of a kimono fit block, which historically implemented boxy construction for fabric preservation and natural ease of movement. This property is critical to me, as I only had so much material to work with, and being able to workout, lounge, or move when I want to without clothing restriction is useful for walking about in forests or being at my desk.
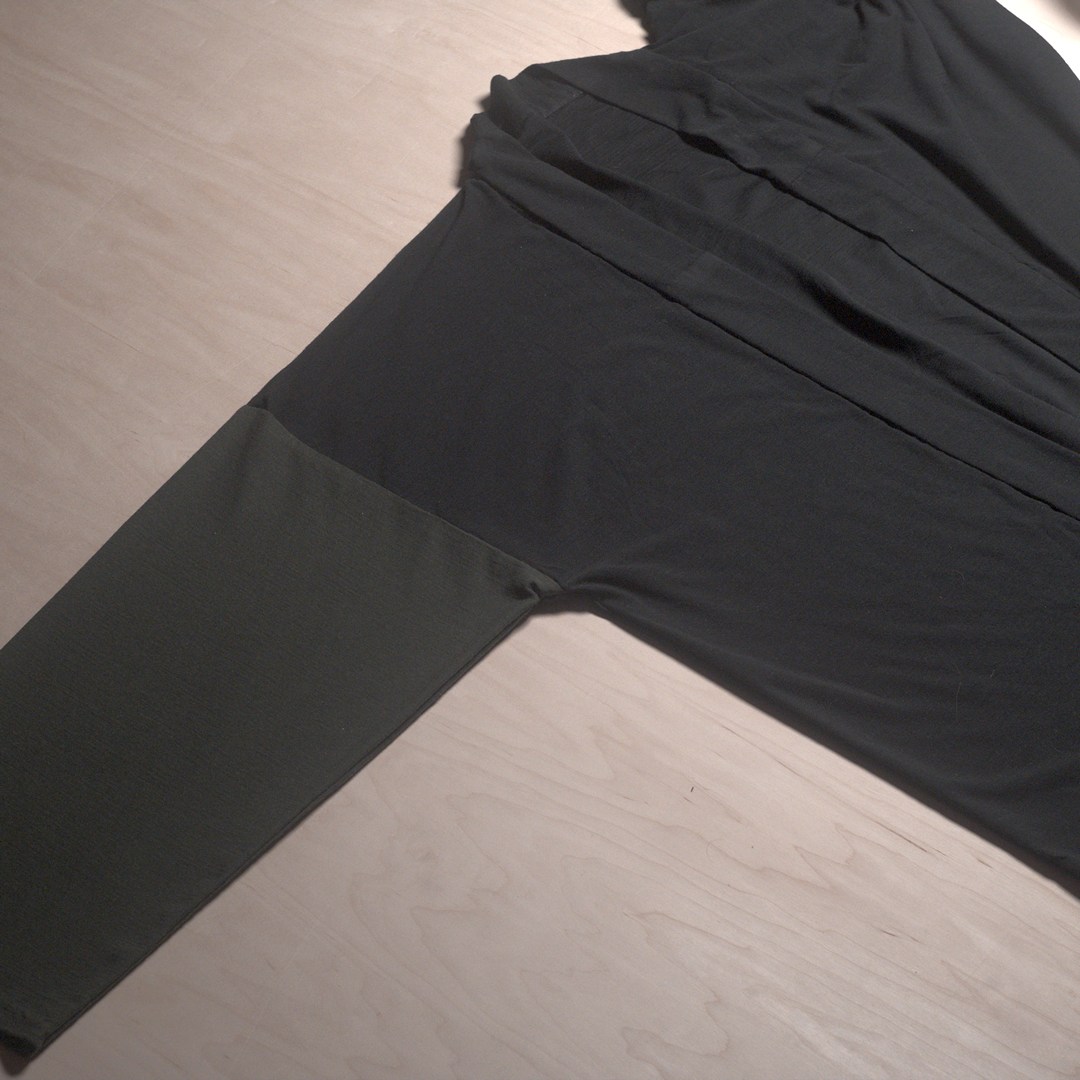
I didn't have enough black wool for the entirety of the garment to be made from it, but this allowed the right-side forest green sleeve to exist as an emergent property of it's design. It's otherwise without much ornament, as it lends itself to forest camo by color and breakage of the human silhouette.
Here's some photos that Wolfgun generously shot of me wearing it in a forest not far from here.


Process
The process started with fabric selection and design decisions. I knew that keeping the fabric quiet already meant a lot to me, which already excludes a lot of nylon/poly blends. These tend to have a pretty tight weave in the fabric, leading to the 'swoosh' sound you get sometimes with jackets that have artificial fibers. Keeping it quiet, supple, and comfortable was what I wanted. I eventually arrived at merino wool. I'd like to eventually do some writing around 'physical stealth' via clothing from a fabrics, utility, and color perspective. Merino wool fits well with this idea in mind, but it's not the primary function of this garment.
Merino wool generally has the property of being temperature regulating (as is natural for the sheep that carry it), as well as being a quiet natural fiber. This is great for the sub-tropical environment I live in. It's also biodegradable. I don't plan on having the garment last forever, so I believe the material should suit the time I'll be making use of it. These Australian/New Zealand based sheep have be kept extremely healthy and well maintained to provide this material in the way they do. Thank you sheep! Thank you farmers! This cyclical relationship that exists between the sheep, maintainers of them, constructors of the fabric—it's all very wild to me. Ancient. What a lovely thing.
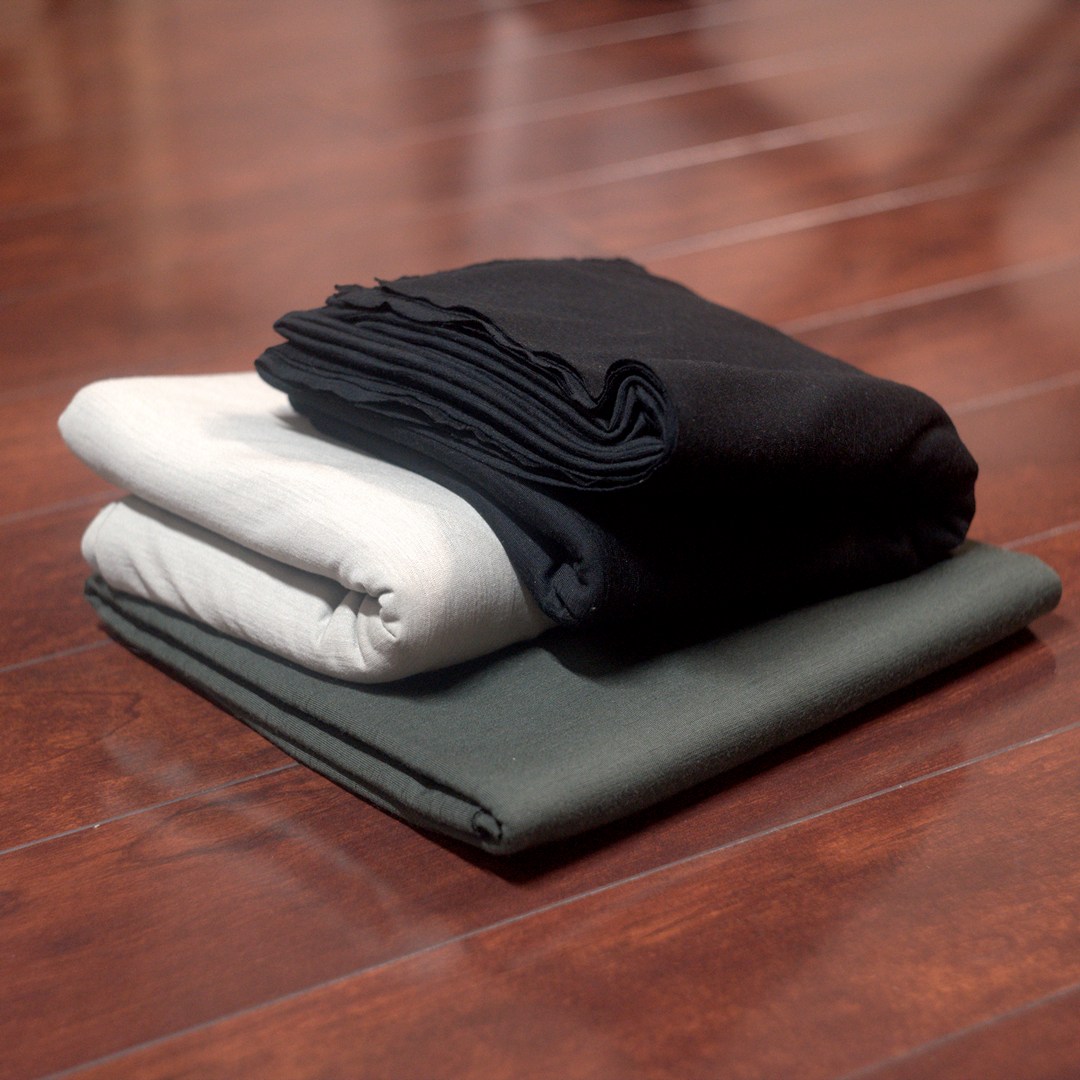
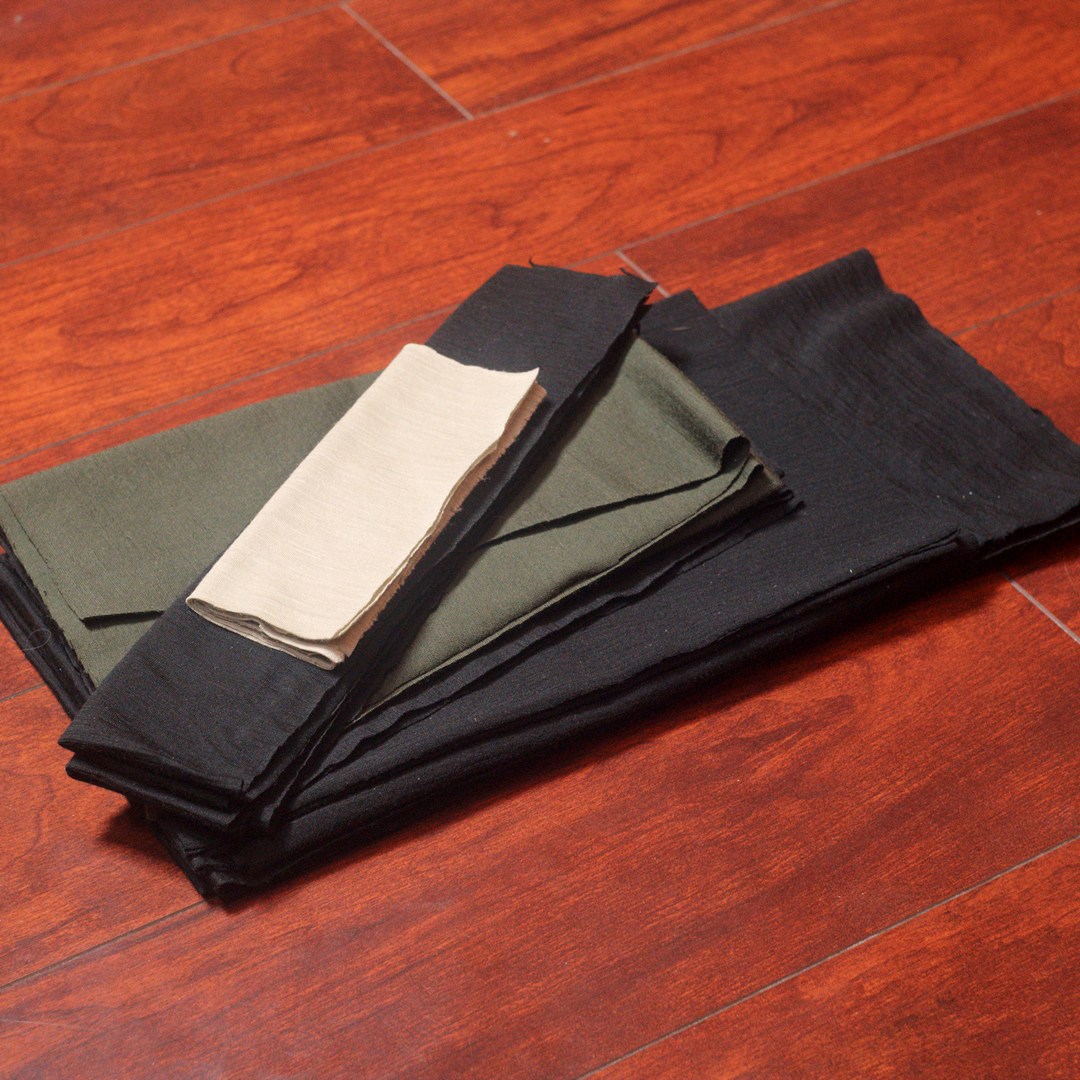
Below is the pile of 3 colored fabrics I obtained in about 1.5 x 1.5 meters each. A Forest Green, Black, and Light Moss.
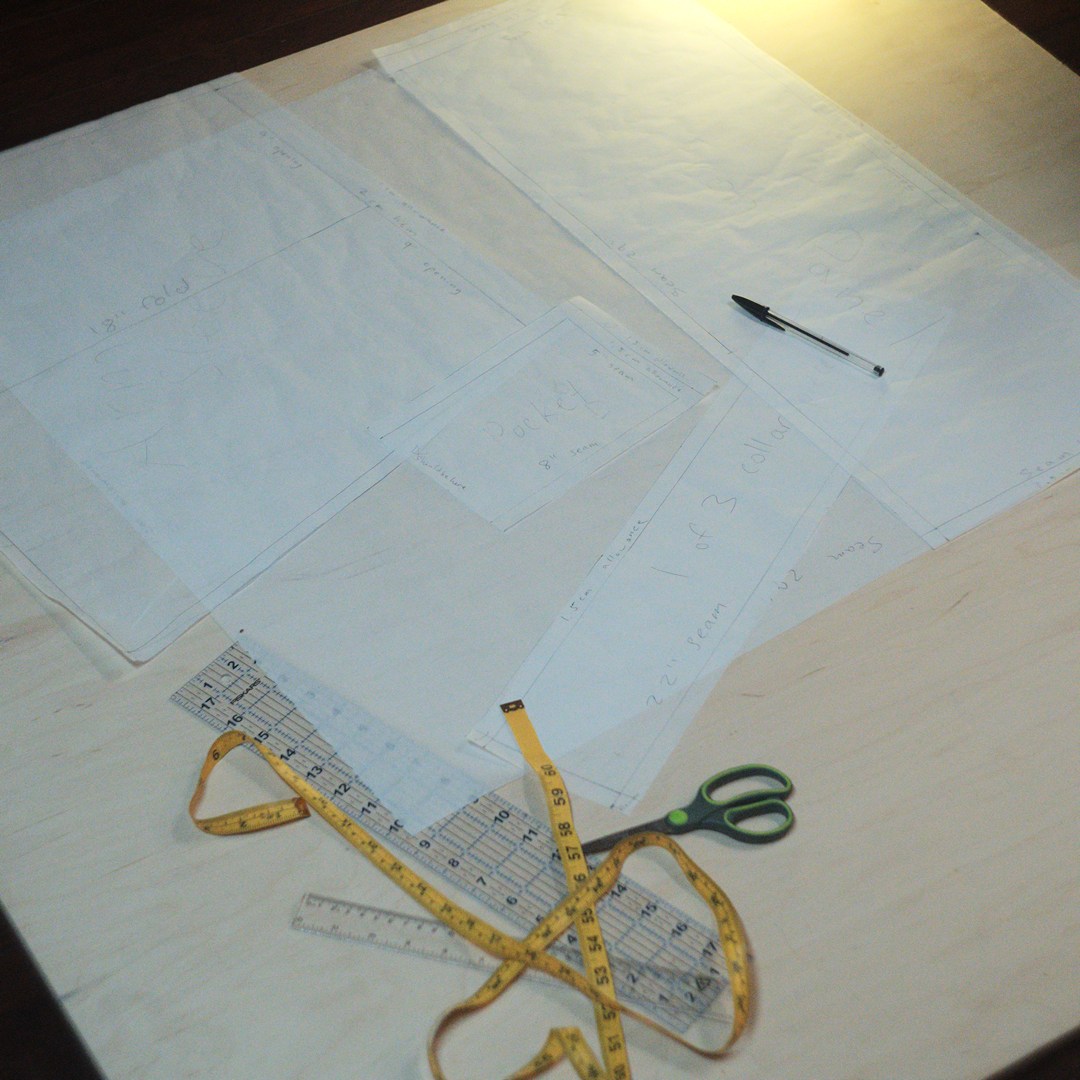
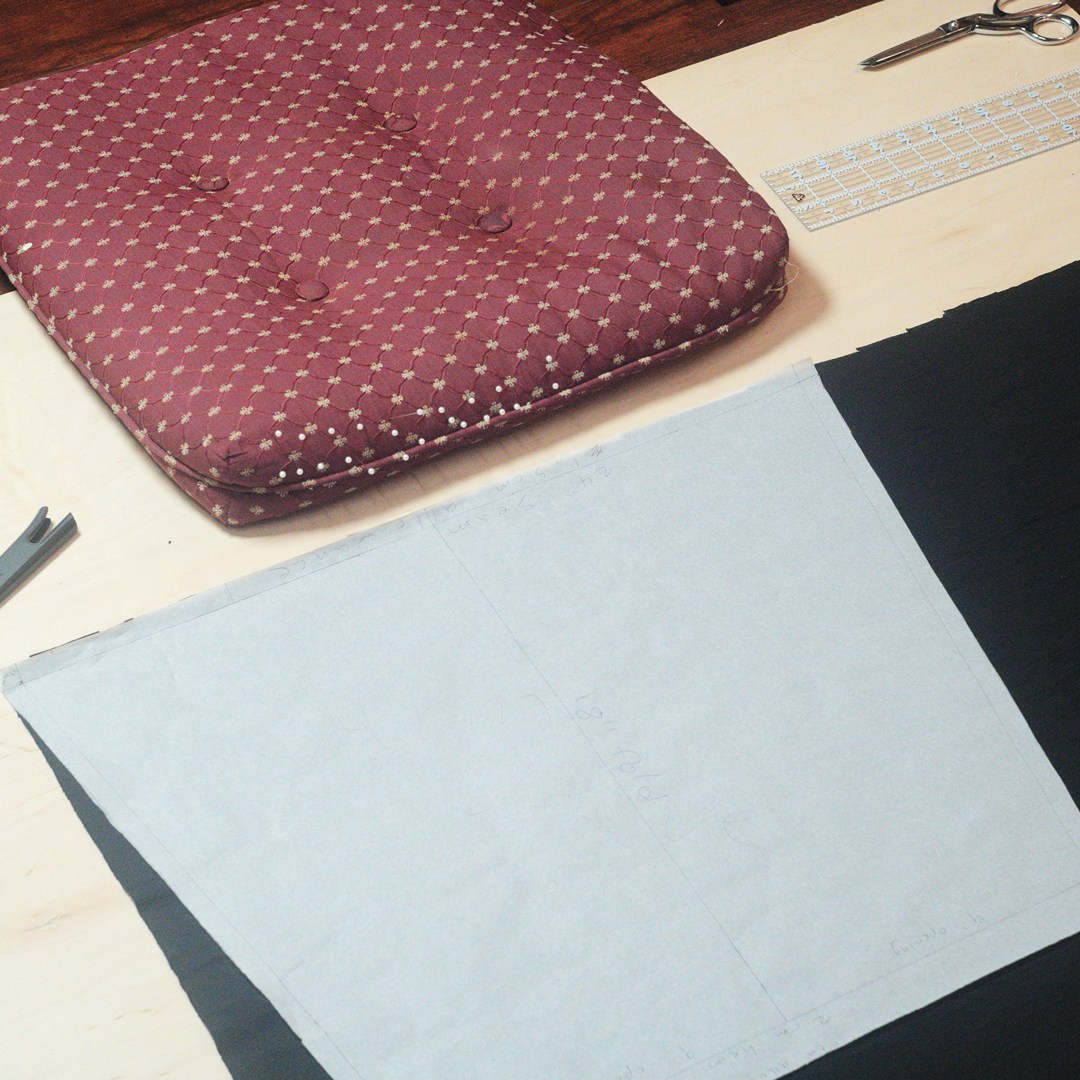
I had to start considering design to construct the pattern. The silhouette and measurements are loosely based off of a Japanese noragi or poncho, but it does not have all features of historical Japanese workwear or loungewear. It either lacks certain pockets or closure ties, or it lacks the rugged material necessary for farm-working such as hemp or indigo dyed cotton. I used various internet resources, a vintage noragi Wolfgun owns, and a hoodie that fits me well to guess at what might drape nicely over me in the end. Ultimately I ended up with a 29" x 29" square that makes up the back of the torso, a 2" wide collar with a 4" separation in the front opening, and 18" sleeves with a 9" opening at end resulting in a mildly tapered look extending from the 12" arm hole.
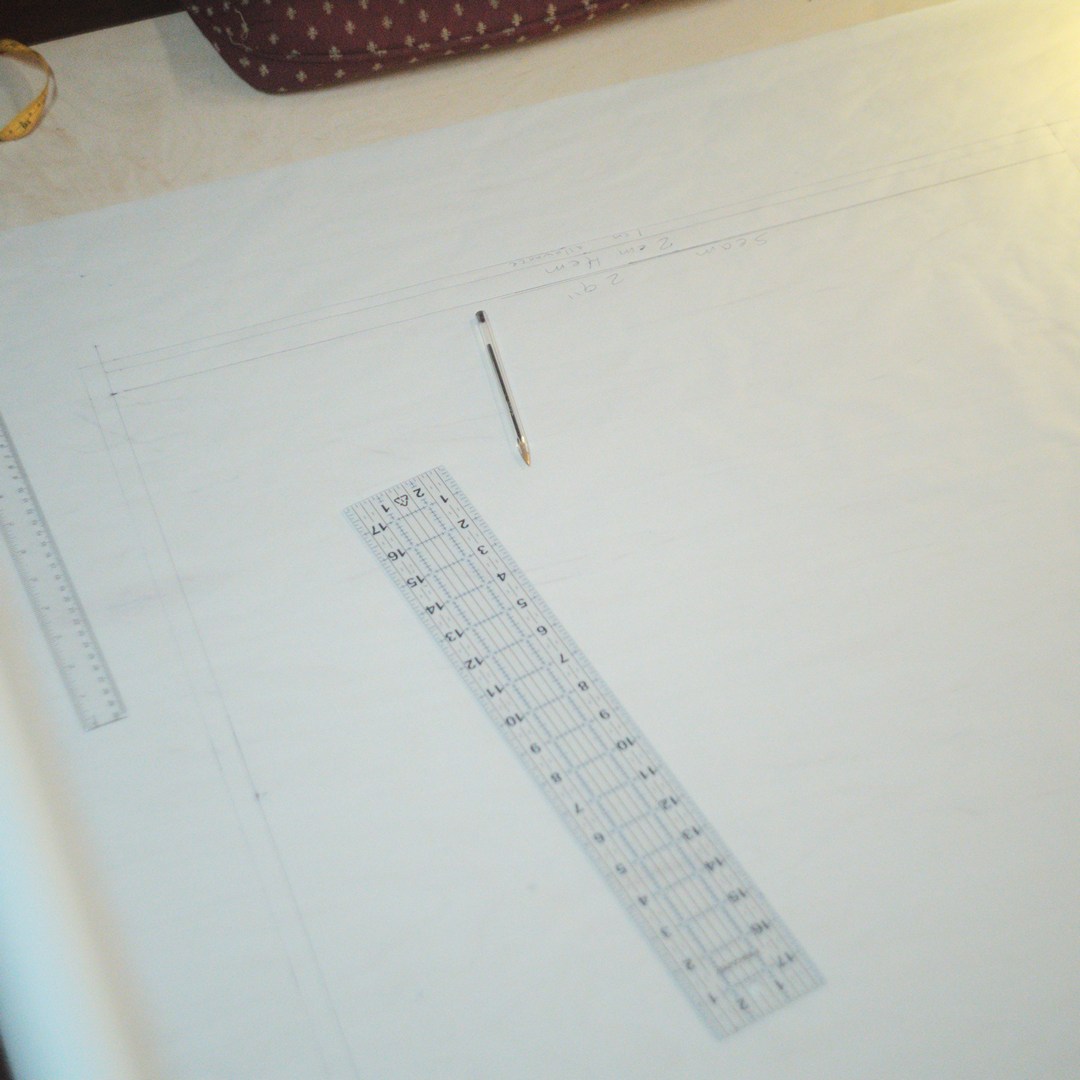
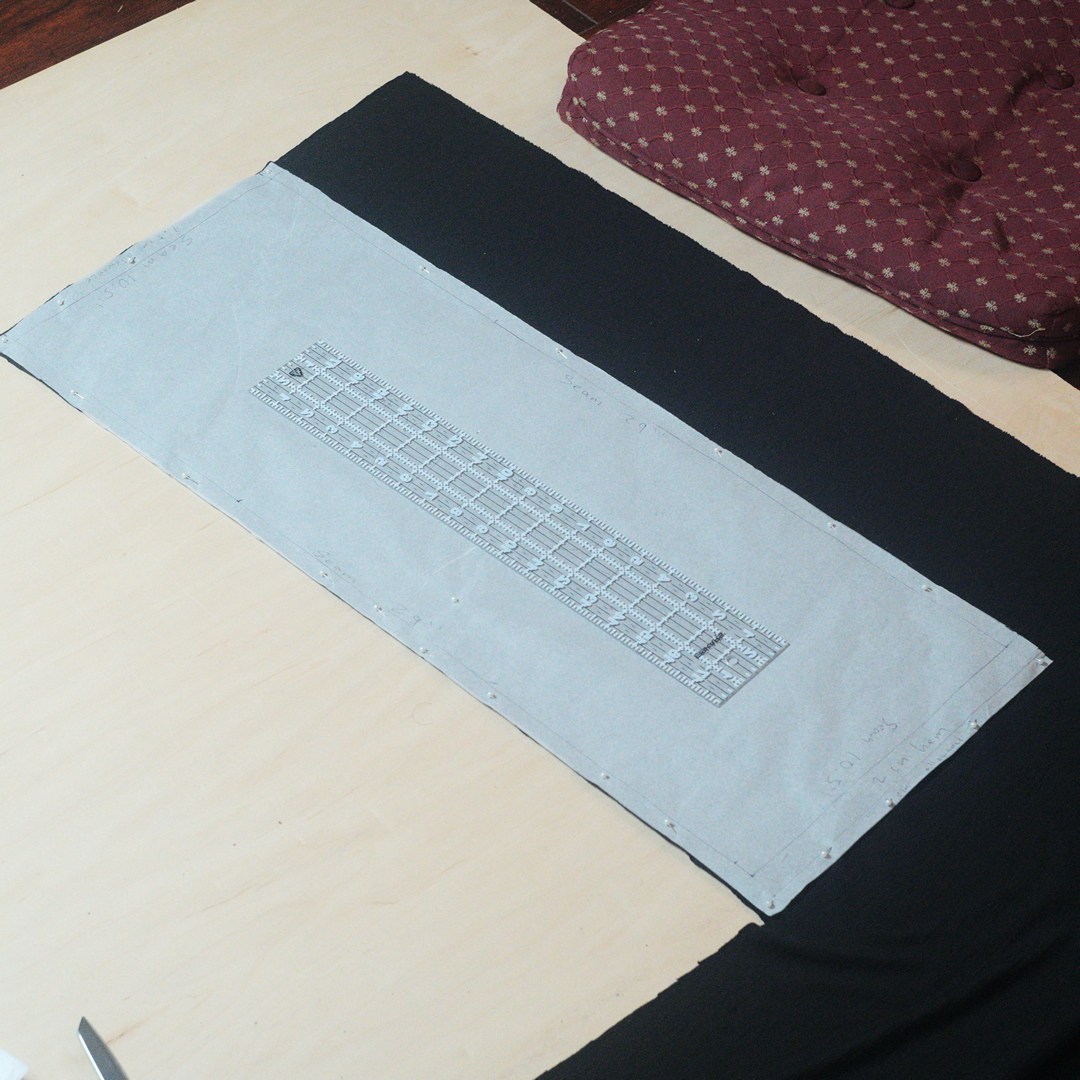
Here's some of my measurement process. I used a roll of tracing paper and some measurent tools to plot out the patterns, of which there were only 4, some being duplicated when cutting the fabric. There was a pattern 5 planned and cut as a hidden pocket. But this idea was scrapped during the process as I felt the stretch of the fabric was too great to sustain any cargo. I added 1.5 cm of space around the edge of each pattern as seam allowance.
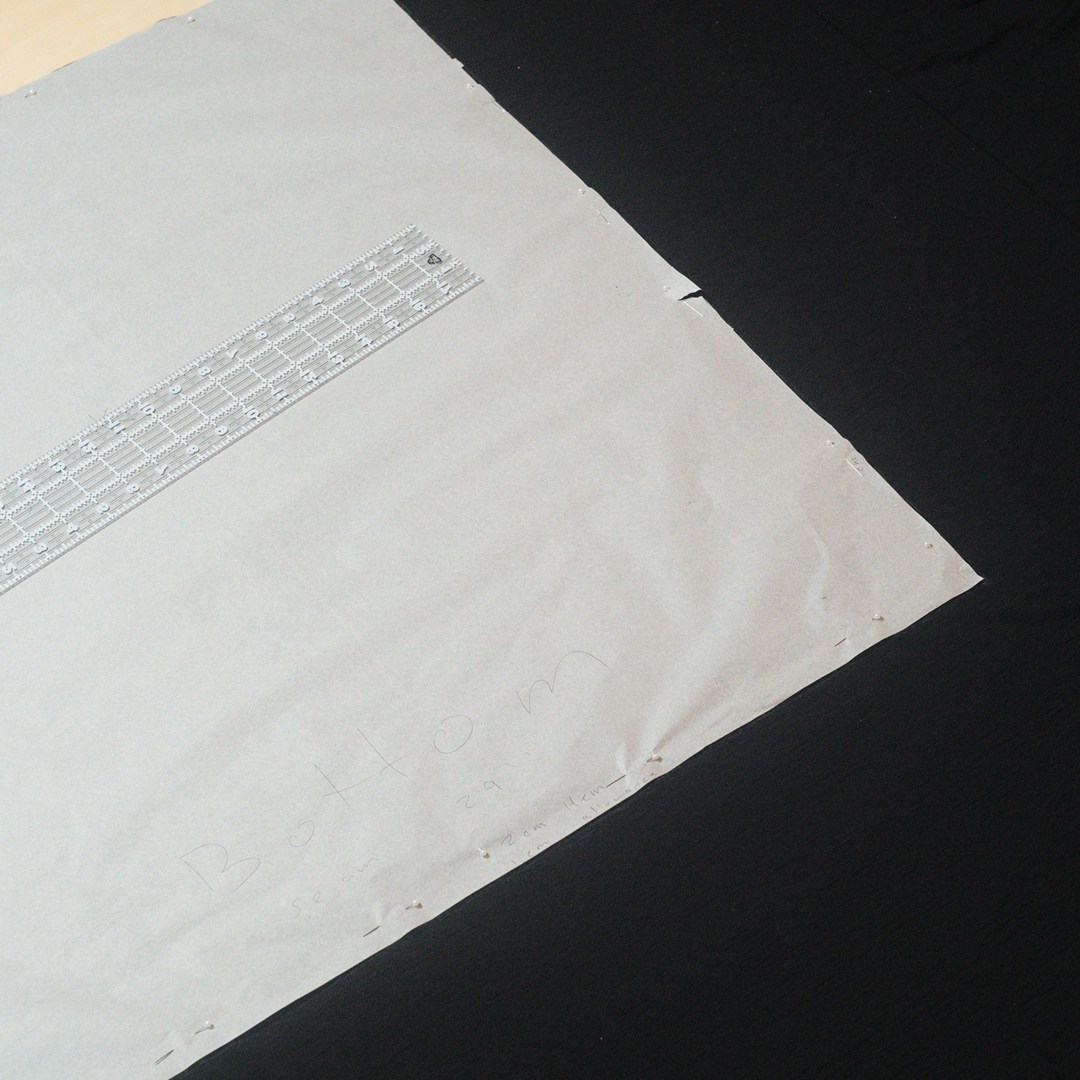
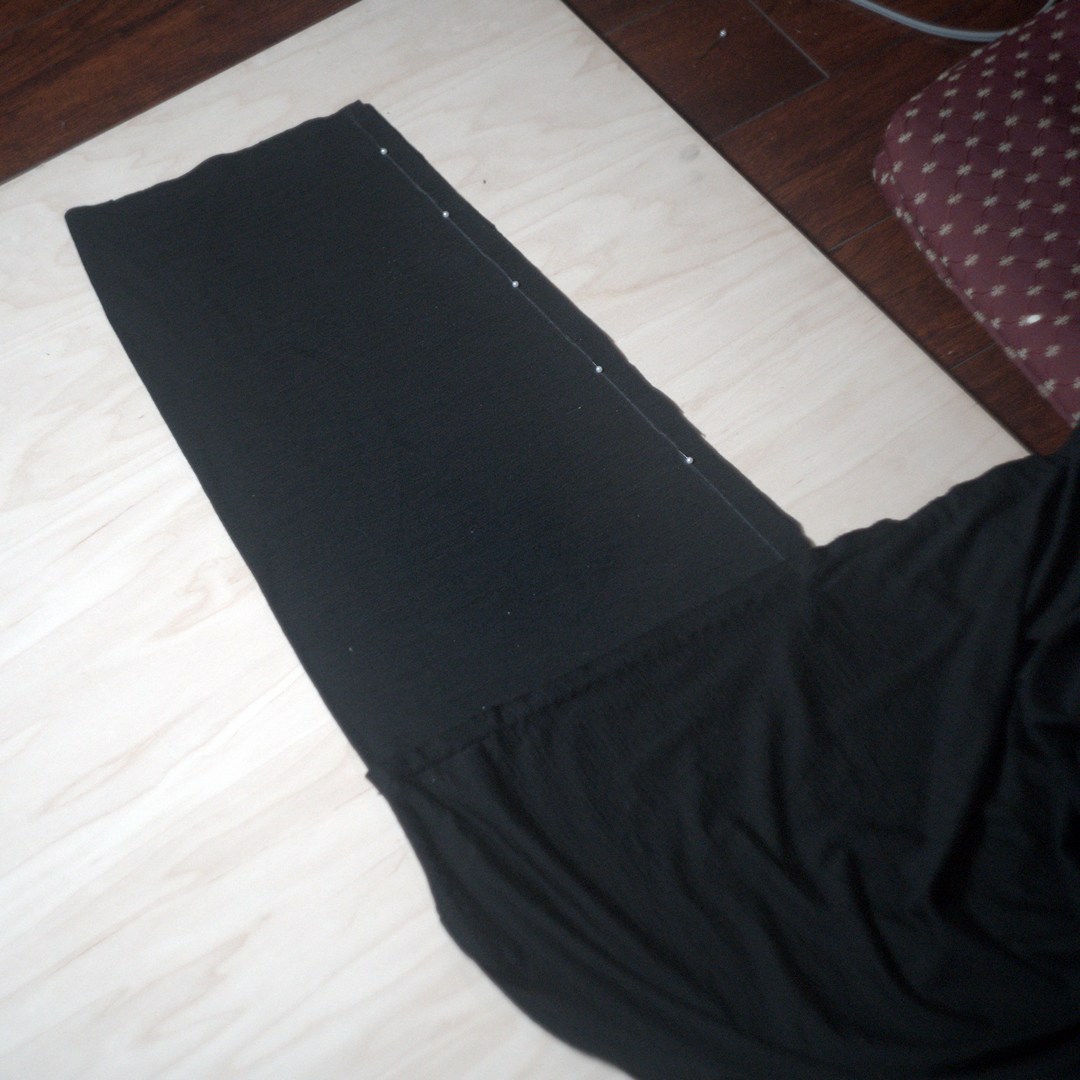
You'll see in this next bit that I start laying the patterns over the fabric to be cut and that they're pinned down the the fabric to prevent any shifting and thereby distortion of the resulting shape. You'll find more pinning in later photos but, I found that near the end of this process, I much preferred using small clips to hold parts together temporarily. A lot of people like to 'baste' parts together with a temporary running stitch, but I didn't find this step to be necessary. Maybe as my skill progresses I'll implement it into how I work, but for now clips are going to be my go-to.
While doing research on older pieces, I found they were constructed on the foundation that fabric needed to be saved, and they needed to be easily repairable. The entirety of the construction for those garments were done with a running stitch. The thread passed through the fabric in a straightforward line to bind the pieces together for this purpose. This was done because labor was cheap, and fabric was expensive. So during any work, if too much tension is applied to the garment, the desired outcome would be for the seams themselves to rip and not the expensive fabric. I still wanted each stitch to be flexible to match the fabric I worked with, so ultimately I went with a mix between durability and straightforwardness, using a combination stitch (running backstitch) to bind the parts together.
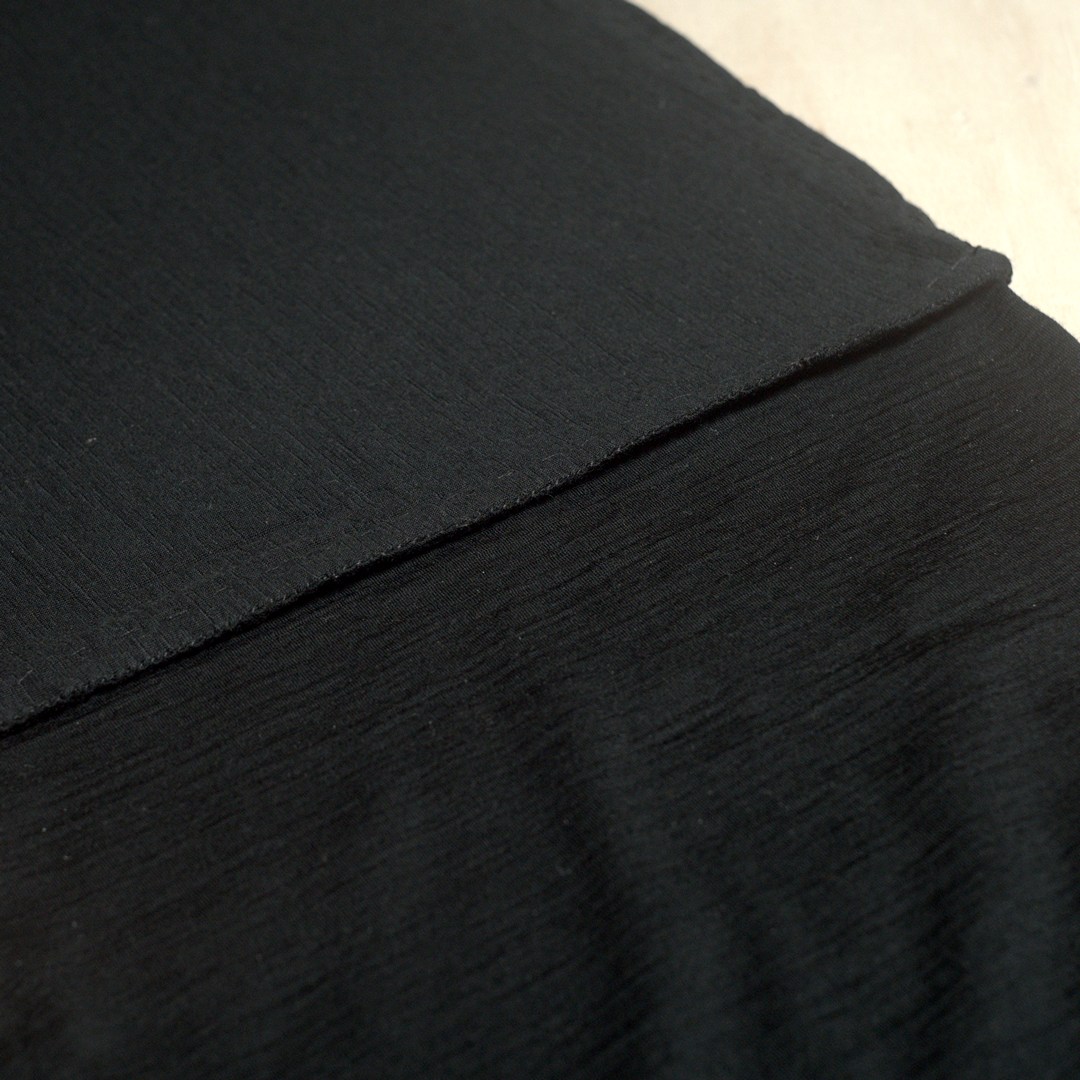
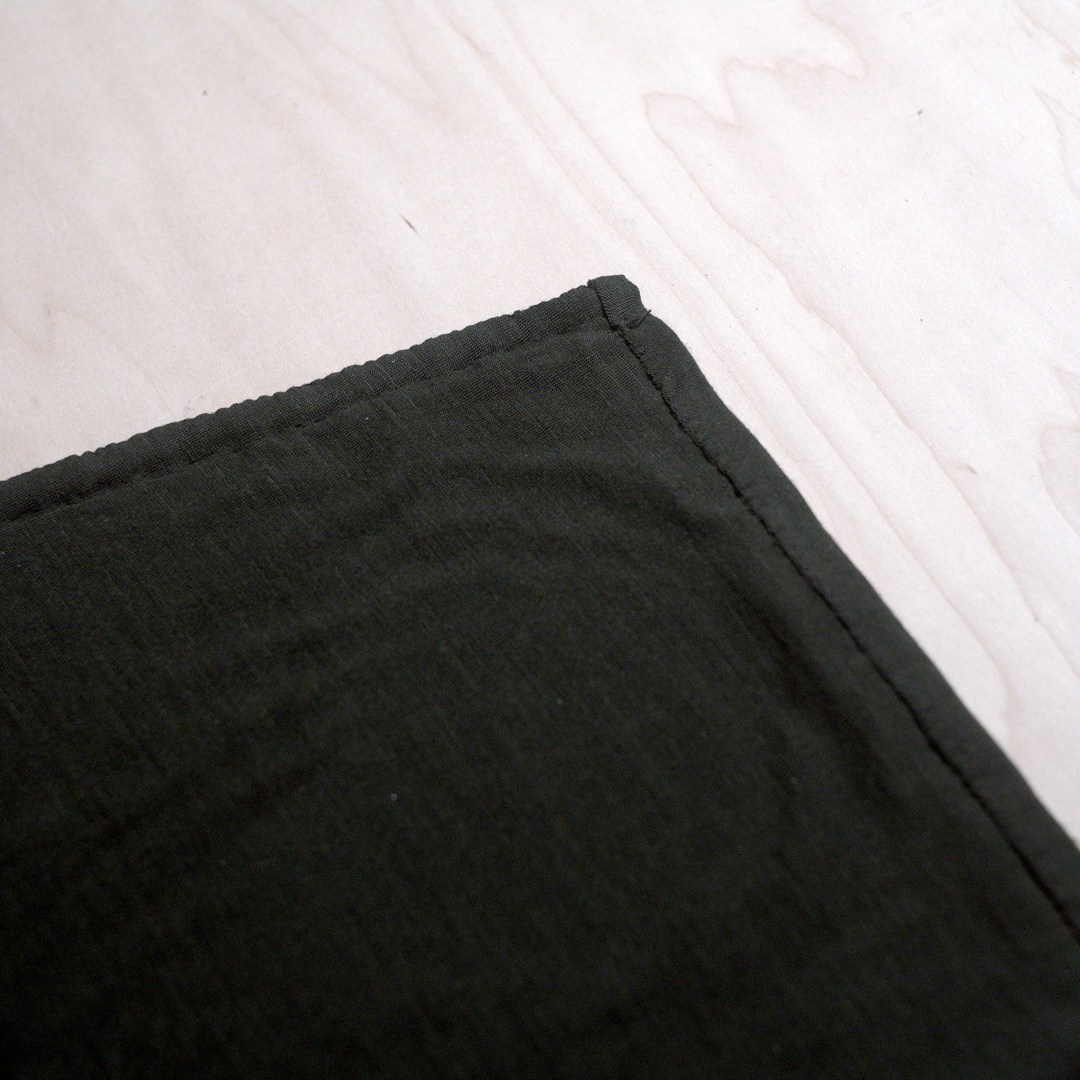
In the latter half of images, you will see how I hemmed and finished the seems. I used a whipstitch to hem both the arms and bottom, as well as for closing this mock french seam I did for the exposed seam allowance. The mock french seem essentially involves folding the two seam allowances inward on eachother, hiding them fabric ends inside, then whipstitching along the two folds on top. This allowed the ends to be protected, be relatively easy to deconstruct if needed, and also not show a visible seem on the exterior of the garment.

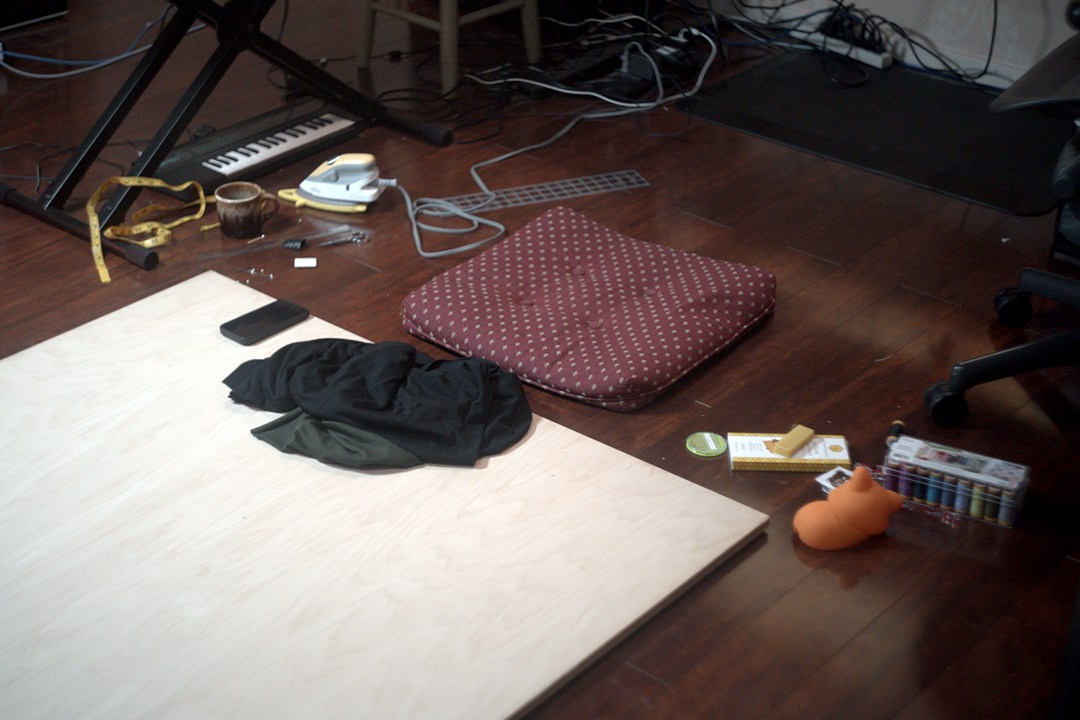
Then, everything is done! I made a couple corrections with the collar, and that was about it. My workspace is below along with the finished garment. One thing I did throughout this was use a #5 sharp needle. This was a mistake. Near the very end as I was finishing seams, I switched over to a #10 sharp. It was incredible how easily the needle glided through the fabric without tugging and me having to push through as much. It will really save your hands to use the right needle.
I've been wearing it now for a few days since its completion. The sleeves are warm and long when I need them, and rolling them up is pretty easy. I do notice that if I prepare food or have to use my hands in a mess, the sleeves will not stay rolled up with quicker movements due to its water-like structure. I thought I might add a tie to the sleeves but, I did not want additional straps or hanging parts off it's exterior. I keep two black bulb shaped safety pins to the interior of the collar for when I need them to hold my sleeves (or other utility). It may not be the most ideal solution if I have to poke holes in the fabric lots over time, but it is designed to be used, so I think I will let it be as it is. Off to make more then, right?
Thank you for reading!